
I found setting up the WireGuard to be confusing, so I have created a guide for me to remember and hopefully help you if you’re stuck.
*Private keys are visible, but as this is a demo keys will be rotated.
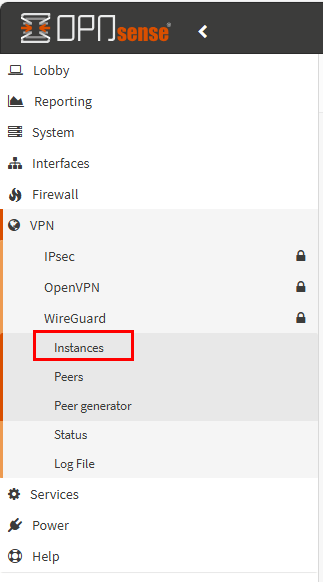
To start, ‘Create Instance’:
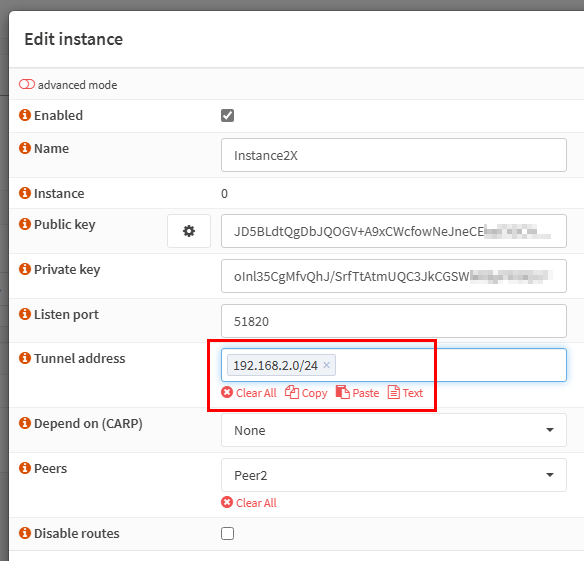
The ‘Tunnel Address’ is the network you create to mange the VPN connections. This is not related your current network. It is can any network.
You can automatically create the Public and Private keys via the cog.
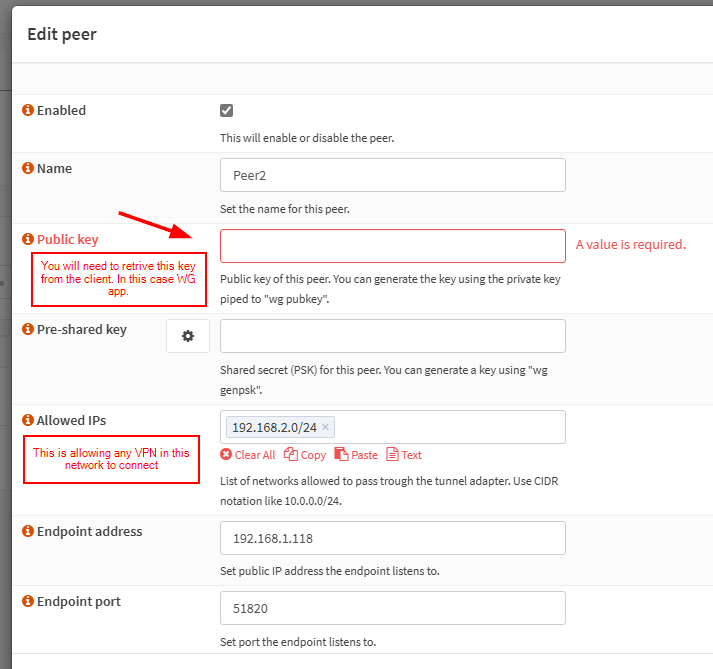
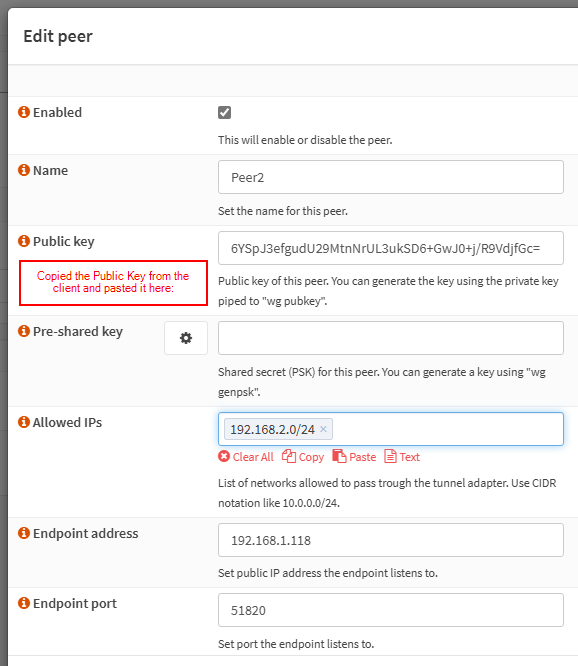
Next we need to setup the Peer. The Public Key will need to retrived from the Client. As I am using a Windows Client, The Public Key is found in the Client App.
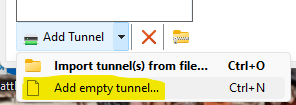
Open the Windows WireGuard App on your desktop and create an Empty Tunnel.
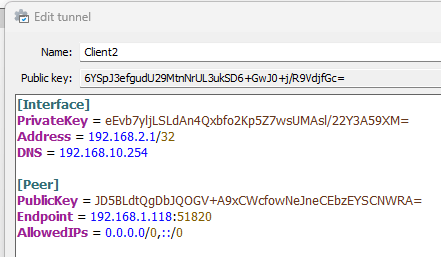
This is the default setting format for an Empty Tunnel.
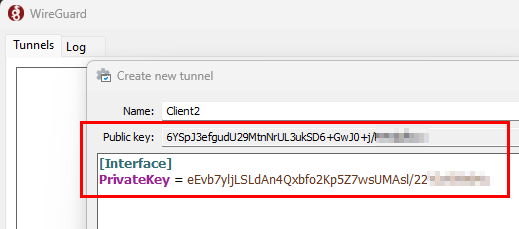
Copy the Client App Public Key and paste below in Peer on Server
*You may also note that the Entpoint I am using is local IP. This is because its an Home Lab using VirtualBox
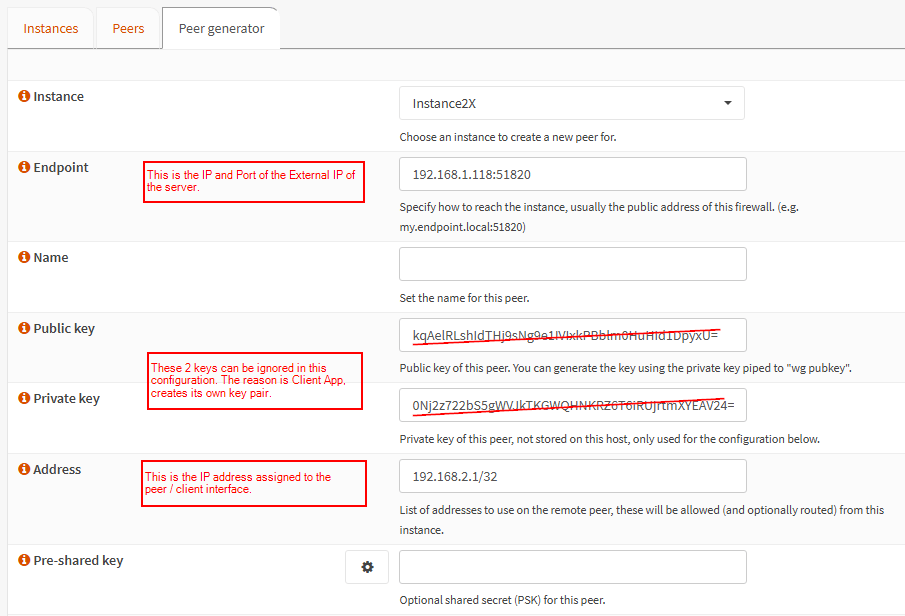
To complete the rest of the Client Config, I use the the Peer Generator to copy the format as this easiest for me.
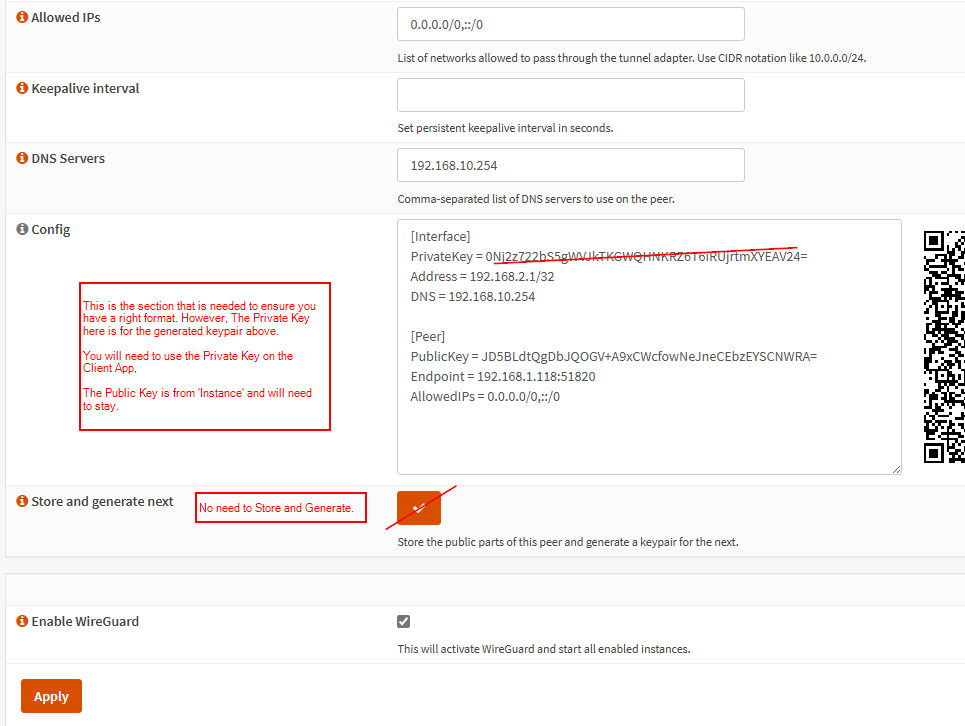
Copy the config above and paste and edit the Client App. Note that we need to keep the existing Private Key, so we can remove the pasted Private Key:
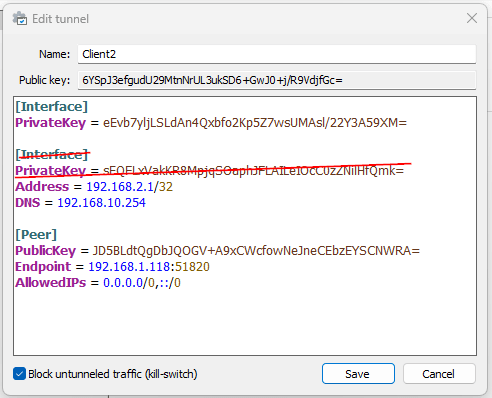
At this point, the Client App should have the Public Key of the Instance and the Peer should have the Public Key of the Client App. Private Keys should not be copied anywhere external.
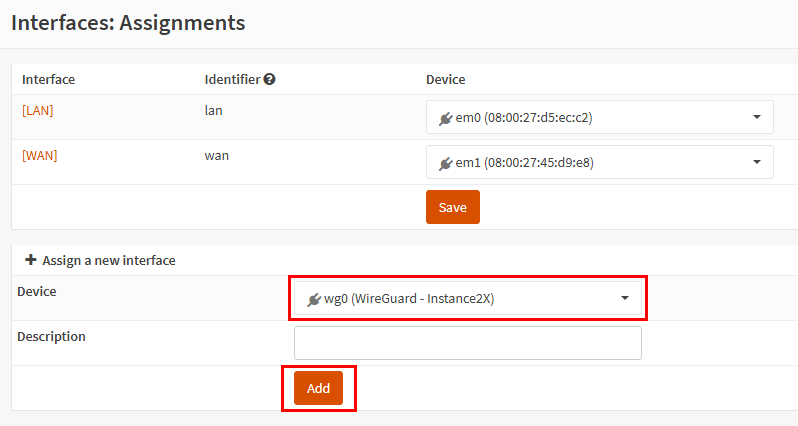
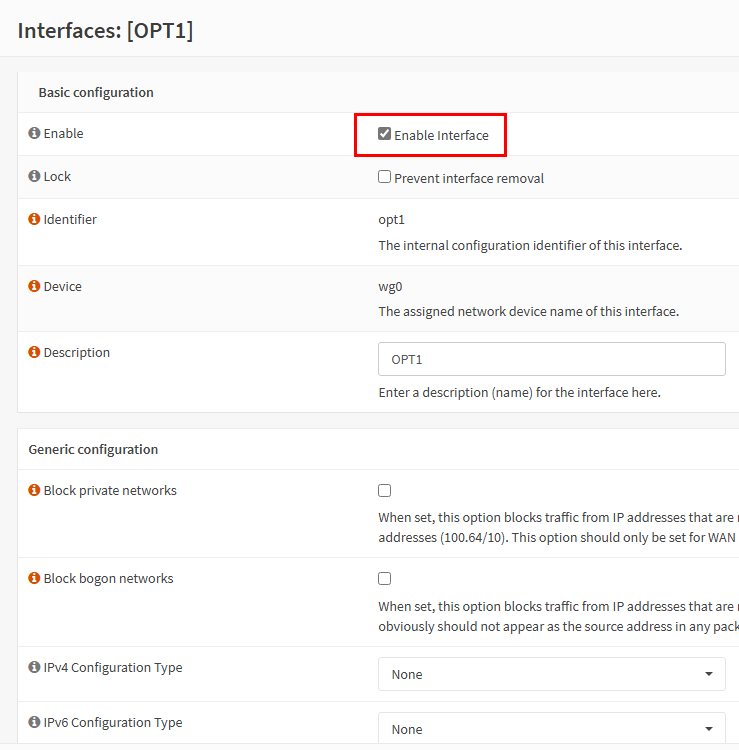
Once the interface is added you will need to enable it
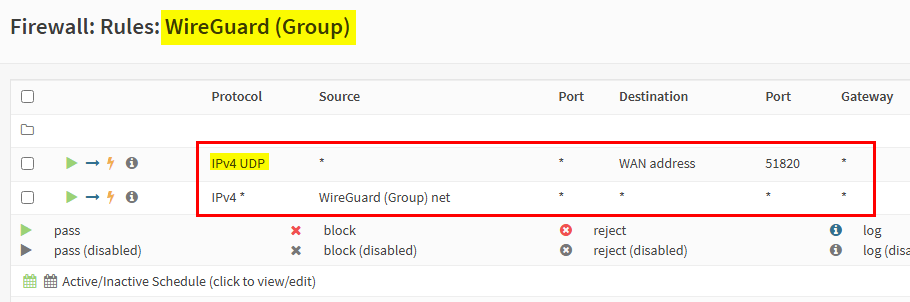
Add the following Firewall Rules to the WireGuard Group:
The Setup should now be complete.
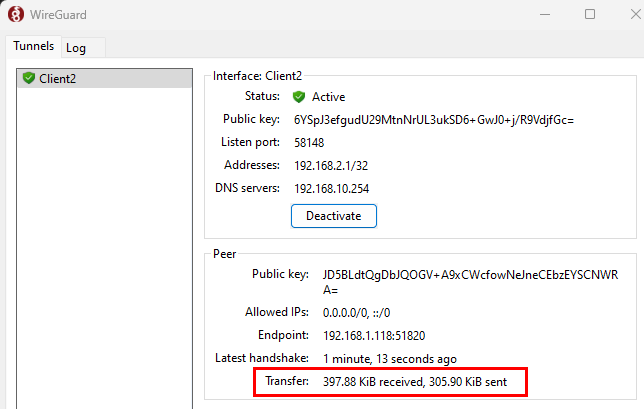
To check that this is working correct you should be able to ping an internal IP across the VPN.

Leave a comment